Clip-in extensions are one of the easiest ways to add length and volume without long-term commitment. But if you have natural hair especially thicker textures, proper installation and texture selection are key to achieving a seamless blend.
In this tutorial, I’m installing loose wave clip-in extensions and sharing exactly how I prep, section, install, and blend them for a polished finish.
Why Proper Clip-In Installation Matters for Natural Hair
Natural hair has density and texture variation, so:
- Sectioning must be clean
- Leave-out must be strategic
- Texture should complement your styled hair
When done properly, clip-in extensions should look effortless and natural.
Step 1: Prep Your Natural Hair
Before installing clip-ins, start with clean, detangled hair.
For this look, I:
- Washed and conditioned
- Fully detangled
- Lightly stretched my hair
Stretching helps the wefts lay flatter and makes blending easier especially when installing straight or loose wave textures.
Step 2: Section Your Hair Properly
Create clean horizontal sections starting at the nape.
Make sure you:
- Leave enough hair out at the crown
- Avoid installing too close to your hairline
- Space tracks evenly for a natural density
Proper placement prevents bulkiness and ensures your clip-in extensions lay flat.
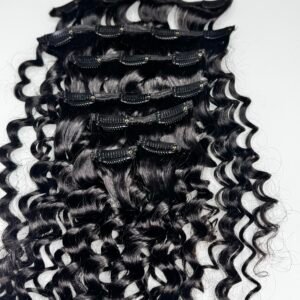
Step 3: Installing Loose Wave Clip-Ins
For this tutorial, I used loose wave clip-ins.
Loose wave gives a soft, glam finish with movement and body. However, because my natural texture is tighter, blending required a bit more smoothing.
This reinforced something important:
Texture matching makes a big difference.
If your natural hair is worn blown out, a textured option like kinky straight may blend more effortlessly. If you’re going for a defined glam style, loose wave works beautifully with the right prep.
It’s not about one being better, it’s about choosing based on your desired look.
How to Make Clip-In Extensions Blend Seamlessly
To achieve a natural finish:
- Match the extension texture to your styled hair
- Smooth your leave-out carefully
- Focus on density alignment
- Install in thin, clean sections
Blending is about intention, not just clipping them in.
Common Mistakes When Installing Clip-In Extensions
- Installing tracks too close to the perimeter
- Not leaving enough hair out
- Skipping proper detangling
- Choosing texture without considering your natural hair pattern
Avoiding these mistakes makes your install look elevated and polished.
Shop the Clip-Ins Used in This Tutorial
If you’re looking for luxury-quality clip-in extensions with movement and fullness, you can shop from our clip-in collection.
-
 Luxury Deep Wave Clip-In Hair Extensions – 100% Virgin Human HairPrice range: $120.00 through $230.00
 -
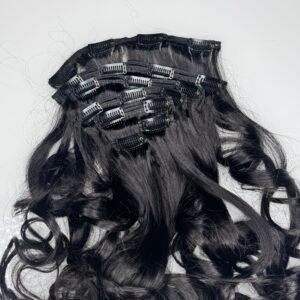 Luxury Body Wave Clip-In Hair Extensions – 100% Virgin Human HairPrice range: $130.00 through $250.00
 -
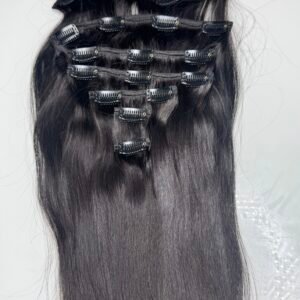 Luxury Straight Clip-In Hair Extensions – 100% Virgin Human HairPrice range: $100.00 through $195.00
FAQs About Clip-In Extensions for Natural Hair
How do you install clip-in extensions on thick natural hair?
Section properly, install in thin layers, and leave enough hair out to cover the tracks.
Which clip-in texture blends best with natural hair?
It depends on how you style your hair. Blown-out natural hair blends more seamlessly with textured options like kinky straight, while loose wave works well for soft glam styles.
Are clip-in extensions damaging to natural hair?
When installed and removed properly, clip-ins are one of the least damaging extension methods.
Follow us on Instagram


-

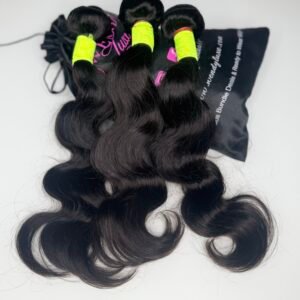
BODY WAVE BUNDLES – RAW HAIR
Price range: $90.00 through $275.00 -
Peruvian Body Wave Bundle Deal – 16 Inch (3-Pack) | 100% Virgin Hair
$250.00 -

Peruvian Body Wave Closure Wig
Price range: $220.00 through $250.00 -
Peruvian Deep Wave Bundle Deal (2-Pack) | 100% Virgin Hair
$170.00